Need to run Windows only applications or games in your Linux Desktop? Here are some free open-source software to do the job!
Many Linux users have their computers dual-boot with a Windows system, so they can use Linux for daily work and boot Windows regularly for gaming or other purposes.
If you keep Windows on your computer because of only few applications or games, then you may try running them in Linux through Wine or Proton etc compatibility layers. And, below are the software that may help!
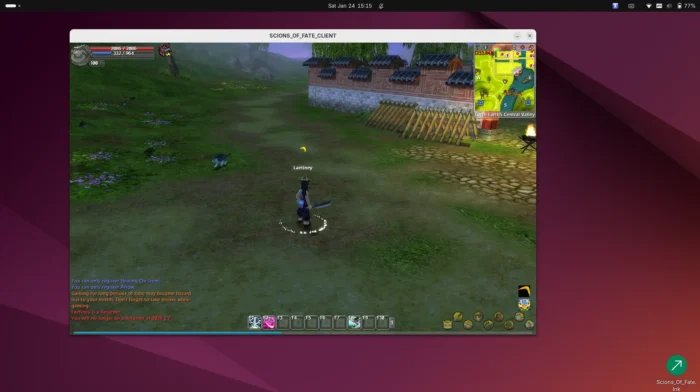
Windows only mmorpg game Scions of Fate in Ubuntu 24.04
1. Wine
Wine is a popular 32 years old software for running Windows apps and games in Linux and FreeBSD, which also works in macOS, Android, and Haiku. It’s so popular that most Linux include it in system repositories, and Valve has a fork “Proton” based on it for running Windows games on steam for Linux.
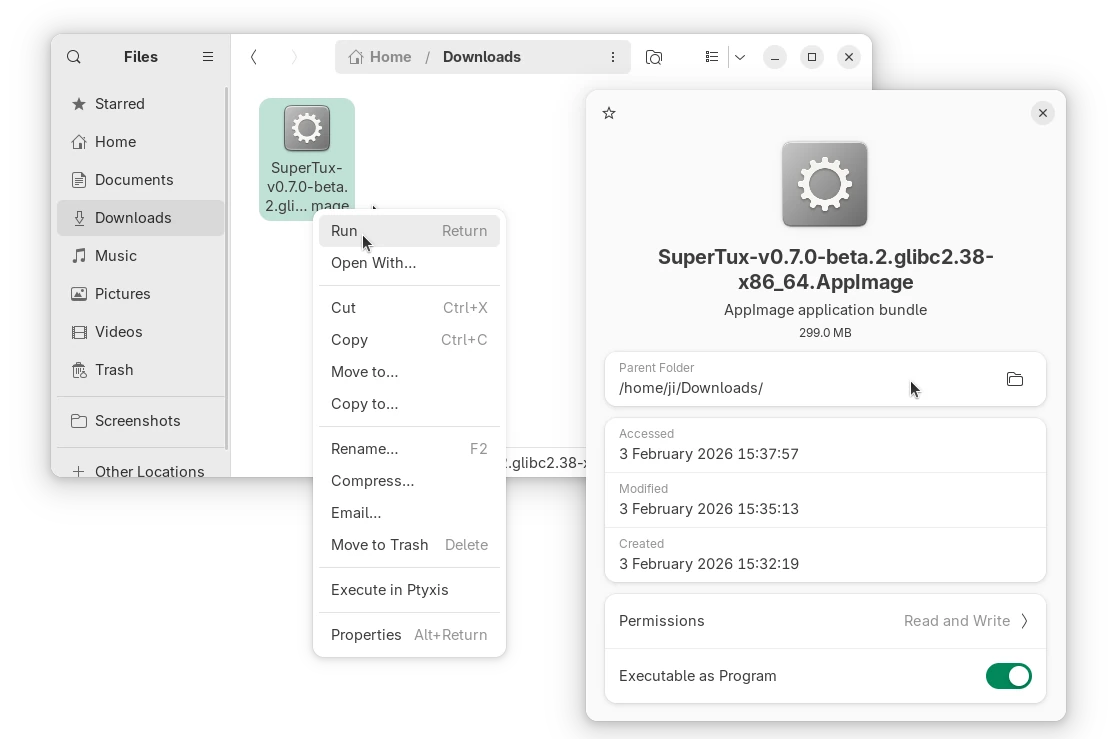
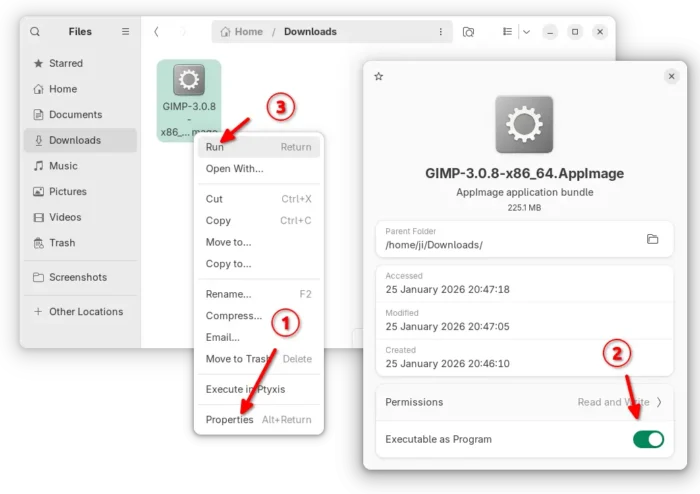
To use Wine, simply right-click on the EXE file and select load with “Wine WIndows Program Loader”, then it will start the installer wizard and install the Windows app on your Linux and create an app shortcut for it.

However, there are a significant number of apps/games that do NOT work out-of-the-box through Wine. You need to configure the Windows version, DLL libraries, drivers, and even install patches for certain apps to work properly. See this page for the list of apps compatible with Wine.
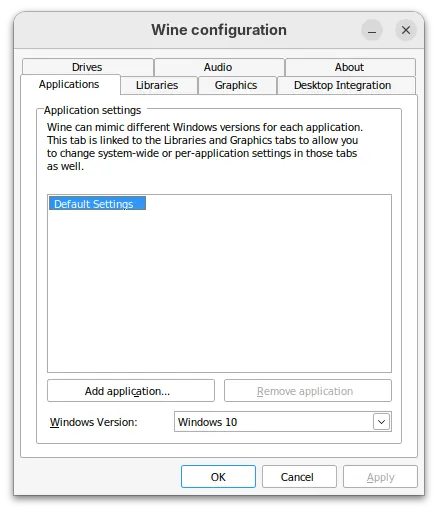
Wine configuration dialog
To install Wine, either open terminal (Ctrl+Alt+T) and run command to install the version (usually old) from system repository:
sudo apt install wine
Or, go to Wine website for the latest version. And, here’s a step by step guide shows how to install it in Ubuntu.
Tips: if Wine is not the thing you’re looking for, then you may run wine uninstaller in terminal to launch the dialog for uninstalling programs, or simply delete the entire .wine folder in user home (press Ctrl+H to view/hide) to get rid of the leftovers.
2. Valve Proton for Steam
For the Windows games that run in steam, valve proton is the best and simplest choice.
While wine is a general-purpose compatibility layer, proton is made with pre-configured patches, DXVK to convert Direct3D call to Vulkan, and others better for gaming support.
In my case, the game runs great out-of-the-box in steam for Linux, but NOT when runs on its own launcher through wine.
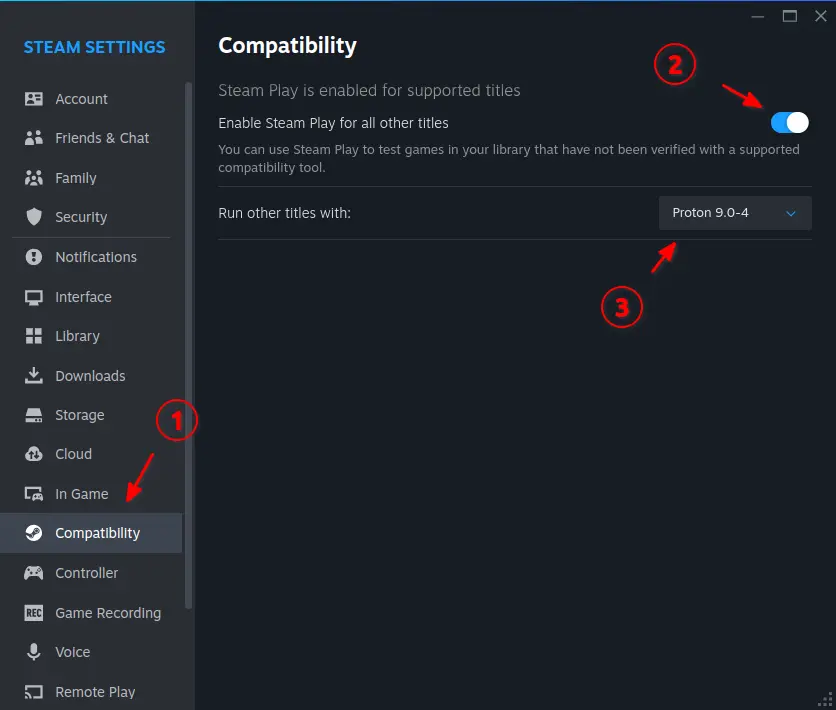
To enable proton for Steam on Linux, simply go to Settings -> Compatibility, enable steam play and choose a proton version.

3. Bottles
For apps/games that neither work out-of-the-box through wine nor support running in steam, there are some alternatives that can help.
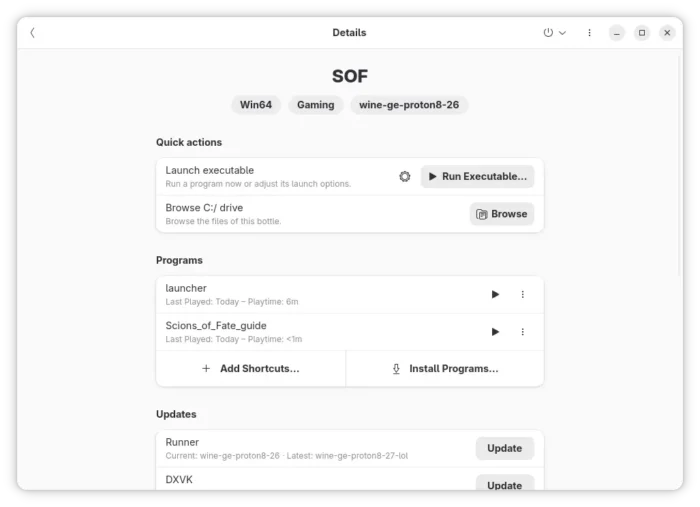
Bottles is one of them, that supports running Windows apps or games through wine, Proton GE (custom version of Valve Proton), Wine GE (custom version of Wine), and other variants with patches and improvements. See this page about the Bottles’ runners.
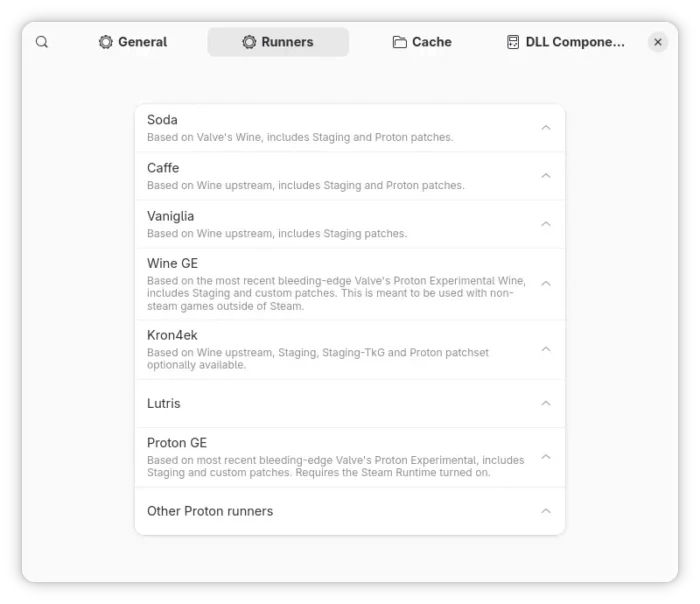
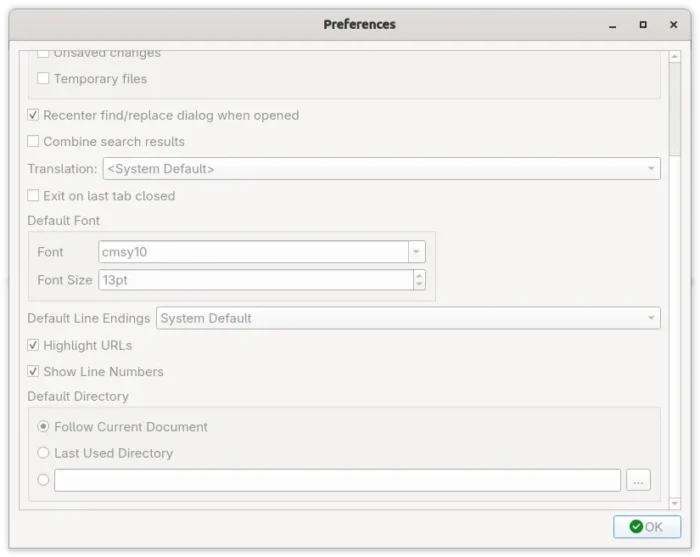
Install Bottles runners through its Preferences
Bottles runs each program in its own run-times. After selected the “correct” runner, the game runs great in my case with default configurations. Though, user can easily choose a different DXVK / VKD3D versions, enable discrete graphics card, and install more run-times, such as .NET frameworks, powershell, Microsoft Visual C++ 2005/2010, and so on.
To install Bottles, search for and install it from Linux Mint Software Manager, Fedora Workstation GNOME Software, or run the 2 commands below one by one in Debian/Ubuntu:
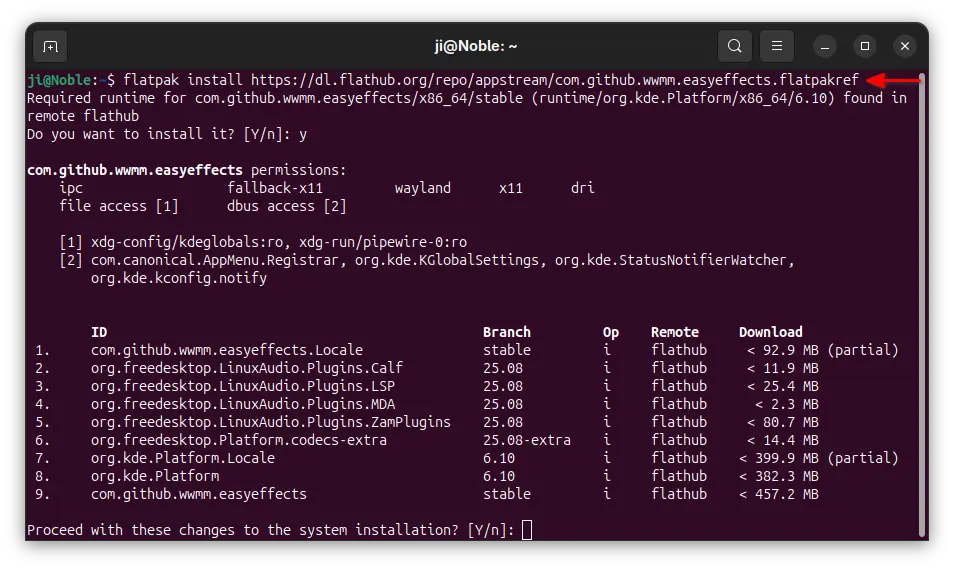
sudo apt install flatpak
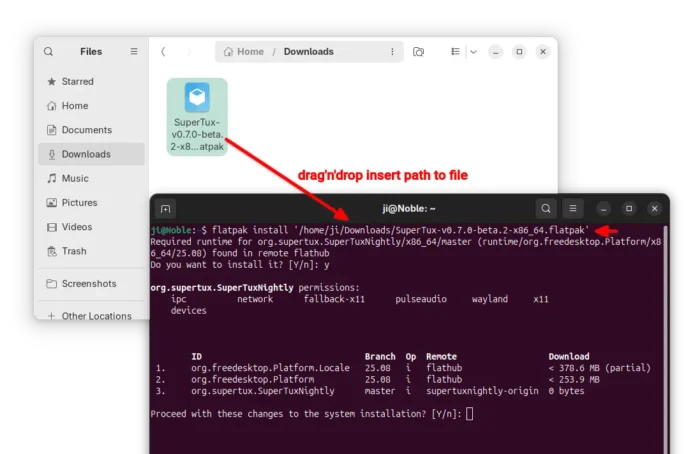
flatpak install https://dl.flathub.org/repo/appstream/com.usebottles.bottles.flatpakref
Log out and back in if the app icon is not visible. And, other Linux may see this page for the Bottles Flatpak package.
4. Lutris
Lutris is a free open-source game manager for Linux, which features community-submitted installer scripts for thousands of games and launchers.
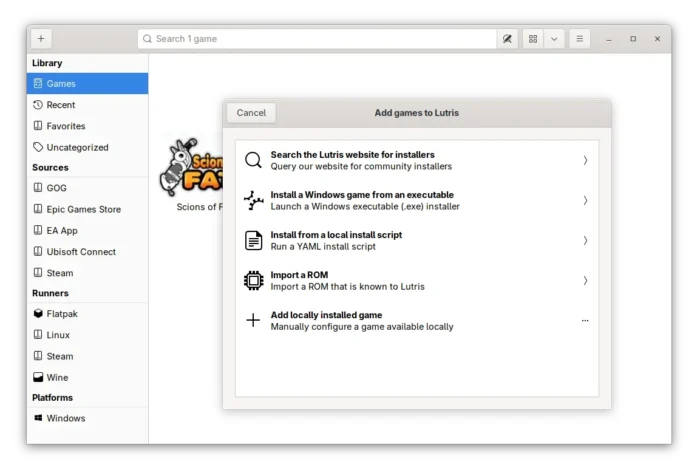
If the game you’re going to try out is available in the Lutris database, then it most probably works out-of-the-box without any configuration. Just search and install, then it will automate the process of dependencies, wine configurations, and others to make it ready for use.
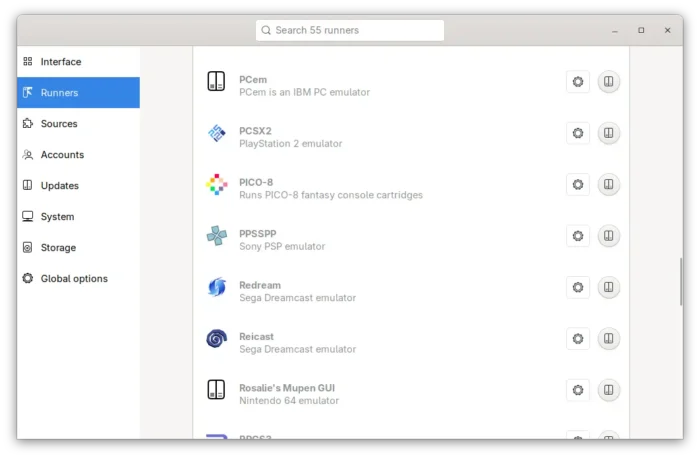
Besides Windows only games, Lutris also supports managing your games from GOG, Steam, and Epic Games Store. As well, it Dolphin, DOSBox, PCSX2, PPSSPP, and a few dozens of other game emulators.
To Install Lutris, either search and install from Linux Mint Software Manager, Fedora Workstation GNOME Software, or run the 2 commands below in Debian/Ubuntu:
sudo apt install flatpak
flatpak install https://dl.flathub.org/repo/appstream/net.lutris.Lutris.flatpakref
While other Linux may see this page for the Lutris package in Flathub.org.
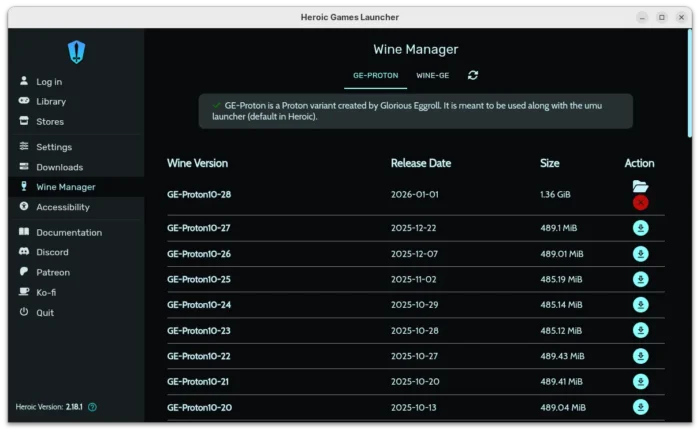
5. Heroic
Heroic is an alternative to Lutris that supports both Wine GE and Proton GE runners, which however features terrible UI in my own opinion.
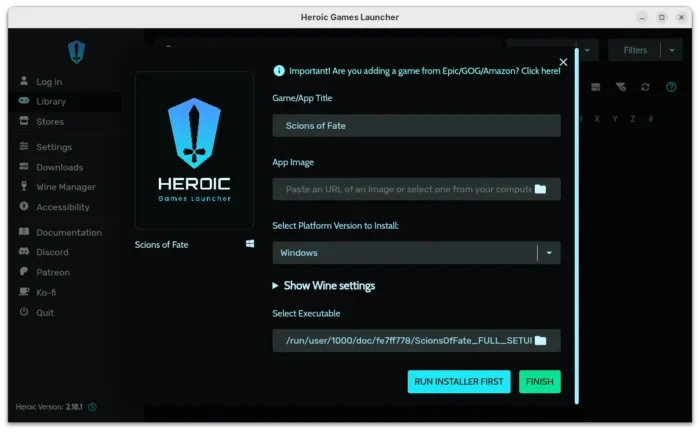
It just works after properly selected the runner, though it has few downsides. It does not auto-detect the game icon. I have to manually set game album covers, or all the games will look same with the default cover.
And, after installed a game using the .exe installer wizard, Heroic does not automatically update the launcher. It will always launch the installer again and again instead of starting the game.
On the good side, it supports installing different versions of Wine GE and Proton GE, in case for games that do not work properly with the latest runners.
Heroic is also available to install in Linux through Flatpak package.
While Linux Mint and Fedora can install it from Software Manager or GNOME Software, Debian/Ubuntu users may run the 2 commands below one by one to install:
sudo apt install flatpak
flatpak install https://dl.flathub.org/repo/appstream/com.heroicgameslauncher.hgl.flatpakref
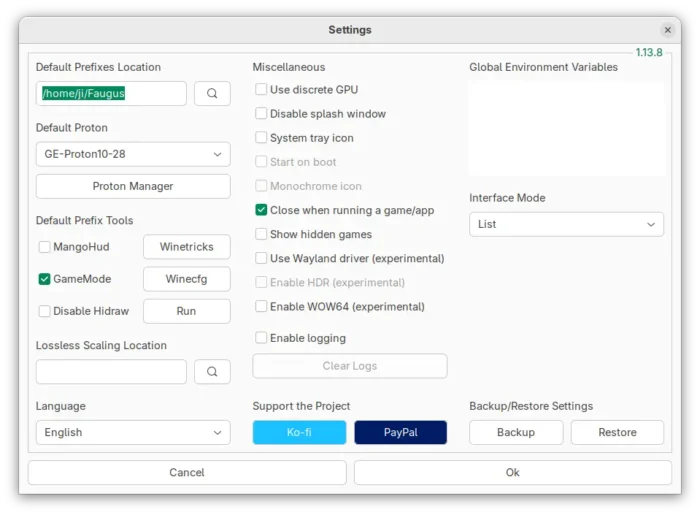
6. Faugus Launcher
Faugus Launcher is simple and lightweight app for running Windows games using UMU-Launcher.
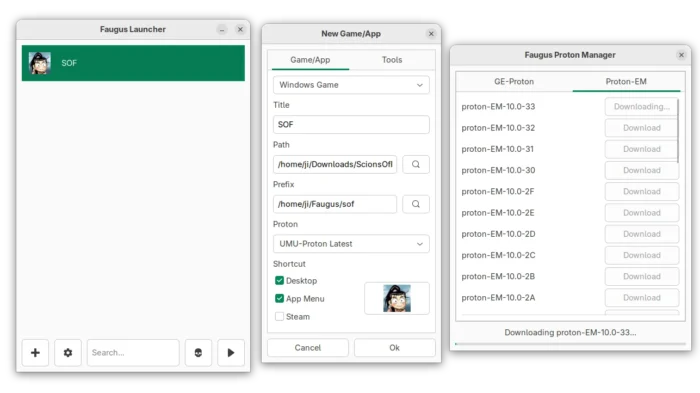
I like this app, as it has a clean and simply user interface, and it supports custom version of Proton GE and Proton EM, as well as umu-launcher.
It also provides a simple settings page with advanced features, such as MangoHud (on-screen fps), GameMode (tweak system for better performance), and other miscellaneous.
The only issue is that my game refused to run through Faugus Launcher, even set with same runner to Lutris and Bottles.
To install Faugus Launcher, see the Github source page.
Summary
In this post, I introduced 6 software for running Windows apps or games in Linux desktop.
While wine is a general-purpose compatibility layer which is not so friendly for beginners to set up, Valve Proton is the great choice for Steam games on Linux.
There are few others that come with custom versions of Wine and Proton with pre-configured patches, DXVK, and other improvements for better gaming support! Lutris in my case is the one that works out-of-the-box, while Bottles has a modern UI and works once selected the ‘correct’ runner.