Reading view

Manually Install/Remove NVIDIA GeForce Now in Linux via Flatpak

NVIDIA GeForce Now added official Linux support yesterday via Flatpak package! Here’s the step by step guide shows you how to manually install or remove it in Ubuntu and other Linux.

GeForce Now is NVIDIA’s cloud gaming service streams high-end PC games to laptops, phones, and TVs, allowing for better gaming experience without requiring high-end hardware.

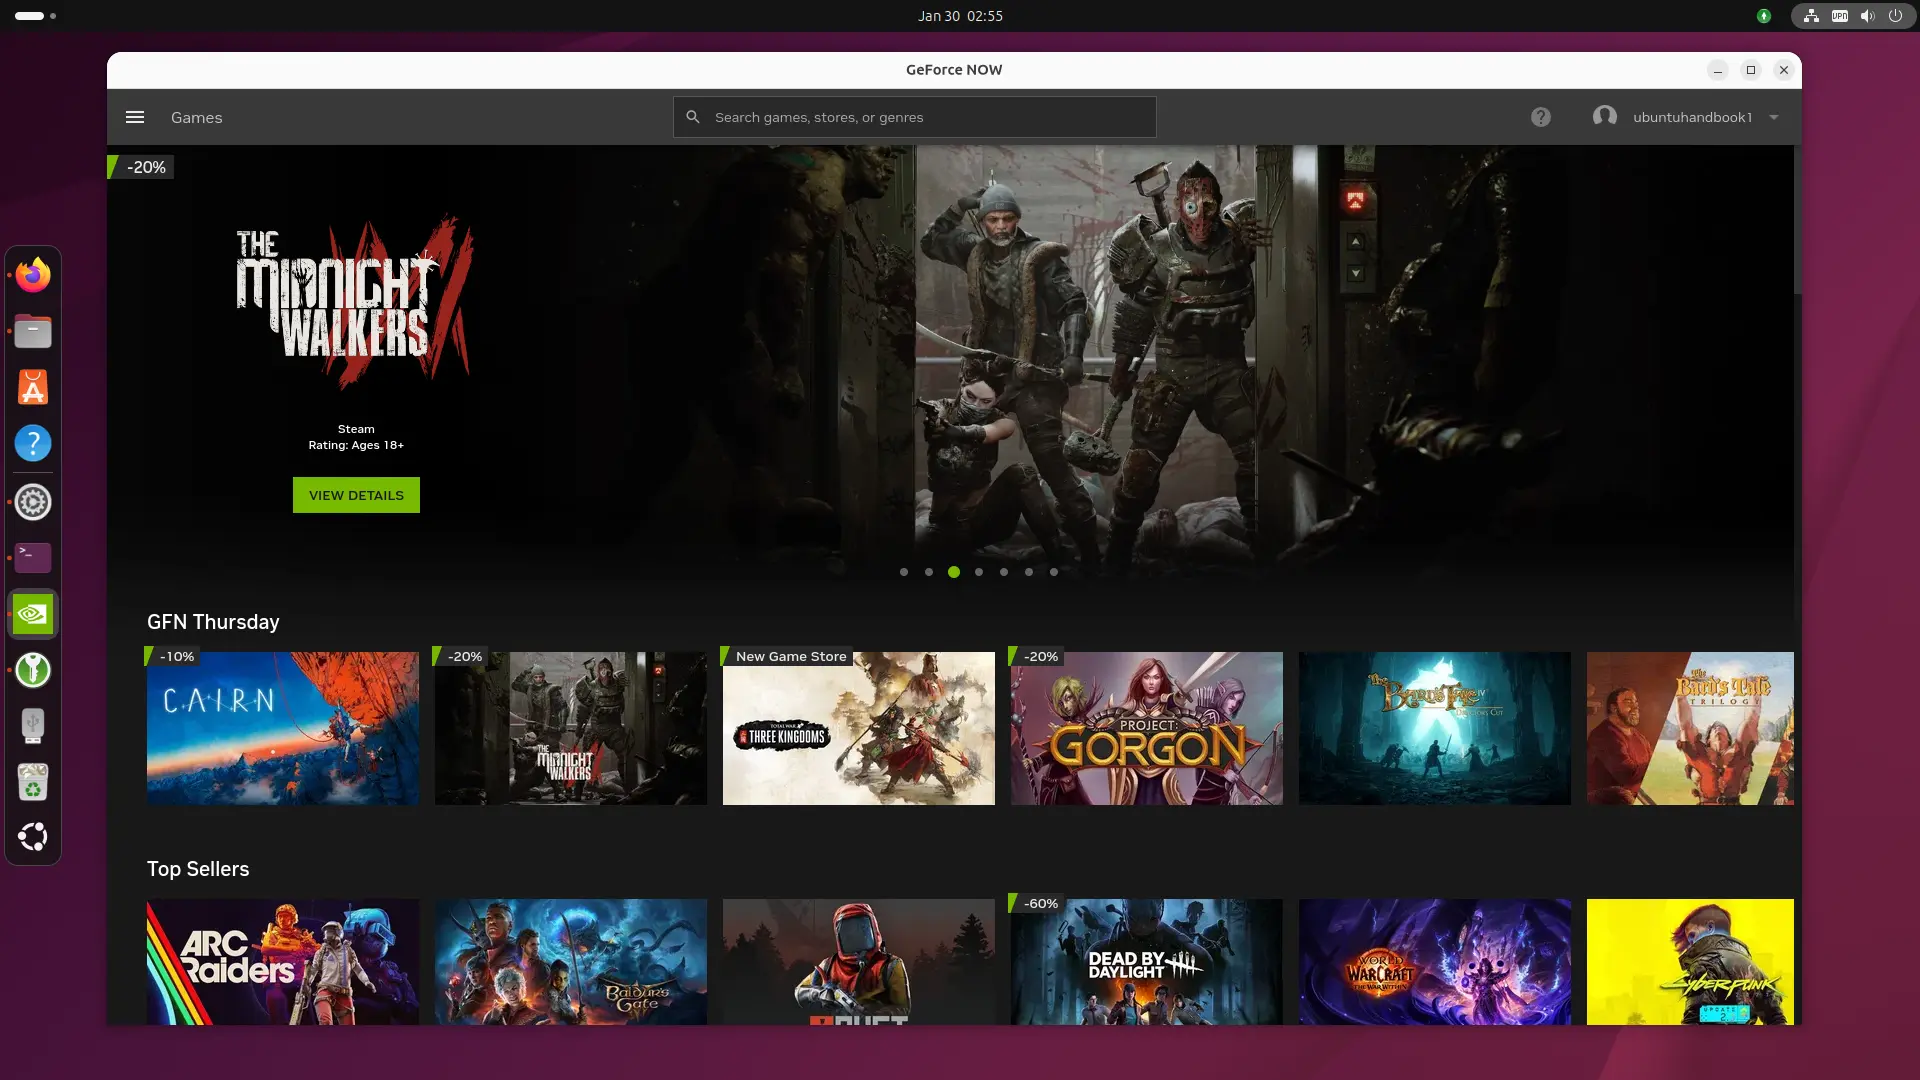
GeForce Now in Ubuntu

The support for Linux (so far beta) requires Ubuntu 24.04 LTS, Xorg for NVIDIA GPUs and Wayland for AMD/Intel GPUs. However, as the installer is an universal Flatpak package, it can be installed in most Linux Distributions!

Besides system requirement, it also requires dual-core Intel/AMD CPU, 4 GB memory, and a GPU with H.264 and H.265 (HEVC) video codecs support, as well as 580.126.07+ driver for NVIDIA GPUs and Mesa 24.2.8+ for Intel/AMD GPUs.

And, it requires 25 Mbps internet connection for 60 FPS gaming performance on 1920×1080 screen resolution, or 45 Mbps for 4K resolutions (3840×2160) at 120 FPS. See this page for more about the Linux OS requirements.

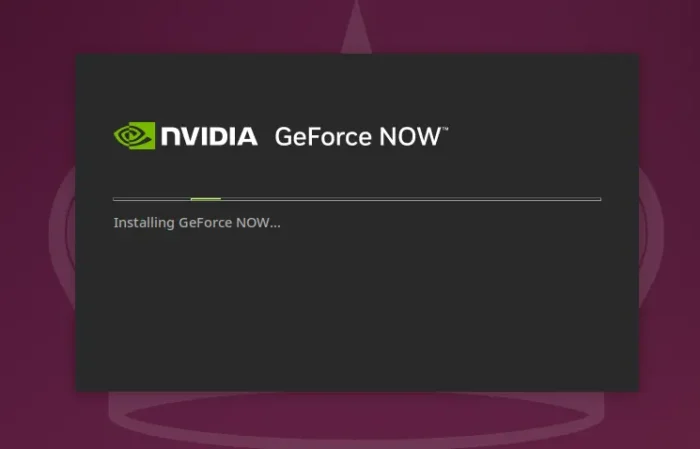
By default, you may download the installer from NVIDIA website. Then, add executable permission from file properties dialog, and finally click Run to start installing it.

While, below will show you how to add the remote repository and install the Flatpak package manually.

Install GeForce Now Flatpak Package

1. For Debian and Ubuntu based distributions, first open terminal (Ctrl+Alt+T) and run command to install Flatpak daemon:

sudo apt install flatpak

Other Linux may follow the official setup guide to enable Flatpak support.

2. Next, run command to add the GeForceNOW remote repository:

flatpak remote-add --user --if-not-exists GeForceNOW https://international.download.nvidia.com/GFNLinux/flatpak/geforcenow.flatpakrepo

In my case, I also need to add the Flathub repository for runtime dependencies:

flatpak remote-add --user --if-not-exists flathub https://dl.flathub.org/repo/flathub.flatpakrepo

If you want to install GeForce Now for all users in your Linux Distribution, then skip --user in the both commands above.

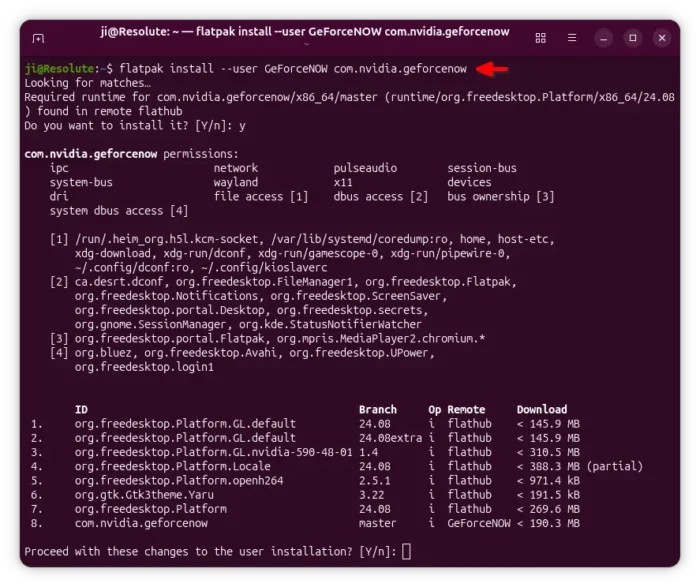
3. After added the flatpak repositories, finally run the command below to install the package:

flatpak install --user GeForceNOW com.nvidia.geforcenow

Also, skip --user option if you added the repositories without it.

After installed the package, search for and install it from either start menu or Gnome overview depends on your desktop environment (Log out and back in if app icon is not visible).

And, run the command below regularly to check updates:

flatpak update com.nvidia.geforcenow

Uninstall GeForce Now

To uninstall the package, open terminal (Ctrl+Alt+T) and run command:

flatpak uninstall --delete-data com.nvidia.geforcenow

Here, skip --delete-data if you want to keep the personal app data which is stored in .var/app/ directory.

Then, remove the remote repository by running command:

flatpak remote-delete GeForceNOW

Finally run flatpak uninstall --unused to remove useless run-times.

  •  

Add Custom Toggle Buttons to Top-right System Menu (Quick Settings)

Want to add custom ON/OFF toggle buttons to the top-right system menu (aka Quick Settings) in Ubuntu, Fedora Workstation and other Linux with recent GNOME desktop? Here’s an extension can do the job!

GNOME since 43 introduced a redesigned system status menu called Quick Settings, allowing to quickly change commonly used settings via ON/OFF toggle buttons.

The menu by default includes the toggle buttons to change the network, bluetooth, night light, keyboard back-light, Light/Dark status, as well as CPU power mode.

If that’s not enough, then you can add more buttons for custom actions, such as automatic suspend and/or webcam toggles. And, here’s how to do the job step by step.

Step 1: Install the Custom Command Toggle extension

The extension so far supports GNOME from version 45 to 49, meaning for Ubuntu 24.04 ~ 25.10, all current supported Fedora Workstation, Debian 13, and Arch etc Linux distributions with GNOME.

First, search and install “Extension Manager” app from your system software app, such as App Center or GNOME Software.

Then, launch Extension Manager and use it to search and install “Custom Command Toggle” extension under Browse tab.

If your Linux Distribution does not have “Extension Manager” app in system repository, then visit the link below in web browser, and use the ON/OFF toggle to install it:

Though, you need to install the browser extension first and refresh to see the toggle. And, Debian/Ubuntu need to install agent package first by running the command below in temrinal:

sudo apt install chrome-gnome-shell

Step 2: Add/Configure Toggle Buttons to Quick Settings

After installed the extension, either go to Installed tab in Extension Manager then click the gear icon to open preferences.

Or, run the command below to launch the preferences from terminal:

gnome-extensions prefs [email protected]

When the preferences dialog opens, you may switch to “Configuration” tab to increase the number of custom toggle buttons (up to 6). And, each button will has its own tab in the dialog.

Next, input the text and icon to be displayed on that button. For Ubuntu with default Yaru theme, see this page for all the available symbolic icon names. And, go to this page for Gnome default Adwaita icons.

And, type the commands for toggle ON/OFF actions. For example, use the command below to enable automatic suspend for both battery and AC mode, for button ON.

gsettings set org.gnome.settings-daemon.plugins.power sleep-inactive-battery-type suspend && gsettings set org.gnome.settings-daemon.plugins.power sleep-inactive-ac-type suspend

And, use the command below to disable automatic suspend for button OFF state.

gsettings set org.gnome.settings-daemon.plugins.power sleep-inactive-battery-type nothing && gsettings set org.gnome.settings-daemon.plugins.power sleep-inactive-ac-type nothing

As you see, you may use && to connect multiple commands into one. And, use pkexec for command that need root permission.

For example, use the command below to disable webcam/camera for button OFF:

pkexec modprobe --remove uvcvideo

And use the command below instead to re-enable for button ON:

pkexec modprobe uvcvideo

NOTE: the modprobe kernel module load/remove commands only work when the module is not in use. If your webcam/camera is being opened by an application, then the commands won’t work.

The initial button state at start up (after login) is by default set to previous state. Advanced users may set it to “Command output”, so it will run the “Check Status Command” automatically at login, and set button state automatically according if that command output matches the “Check Status Search Term”.

For more about the extension, see the official wiki.

  •  
❌